Slipper Export Packing: Your Guide to Container Loading and Damage-Free Shipping
Protect your slipper margin with smarter slipper export packing and container loading. Practical carton specs, load planning, and moisture control for damage free shipping.
Most slipper claims never come from a bad stitch. They come from a pallet that crushed its neighbour, a carton that spent three weeks at 85% humidity outside Ningbo, or a container listed 12 degrees on the crossing. If you buy slippers at wholesale, freight damage decides your margin long before your QA report does — and slipper export packing is the cheapest lever you have over it, applied at the factory, before the box is sealed.
Container loading slippers and the problems it fixes
A 40HQ fills to 68–72 CBM in a slipper load. How those cubic metres get occupied is a packaging decision, not a shipping one. The failures that repeat across orders tend to look the same.
- Top cartons bowing into the gap above the door end, then collapsing when the stack shifts.
- Compression lines halfway up the load because cartons were flush-stacked without boards or offset rows.
- Insoles getting that wavy, irregular surface after the load absorbs container sweat during a hot crossing.
- Rattling, or foam creased at odd angles, because void space was never filled.
A mature supplier thinks about these on the packing line, hours before the truck shows up. If the answer to "how many flushes, where are the tie-off points" is "the forwarder will sort it", the risk is already yours.
Carton specification: the first line of damage free shipping
Slipper cartons usually run single-wall B-flute (3–4 mm) for retail-ready packs and double-wall BC-flute (6–7 mm) for master cartons in a bulk order, with a burst strength matched to the stacking height in the container. For a stack 6–8 cartons high over 20 to 25 days at sea, single-wall at the low end is where the crush starts.
What actually moves the needle:
- Matched external dimensions. A 60×40×40 cm carton that's actually 60.5×40.5×40.5 eats load slots and creates the gap that causes sway.
- A 5-ply base for closed-toe or memory foam packs. A 2 cm closed-cell PE or EVA pad under the insole prevents the flat spot that shows up on unpacking.
- PE or desiccant bags for plush and any water-absorbing content. VCI (vapour corrosion inhibition) matters more in the meta hardware on convertible toe slippers and gift sets.
- Printed polybag with hang hole for retail packs, plus a tissue wrap for anything with a visible plush pile or pile-up collar.
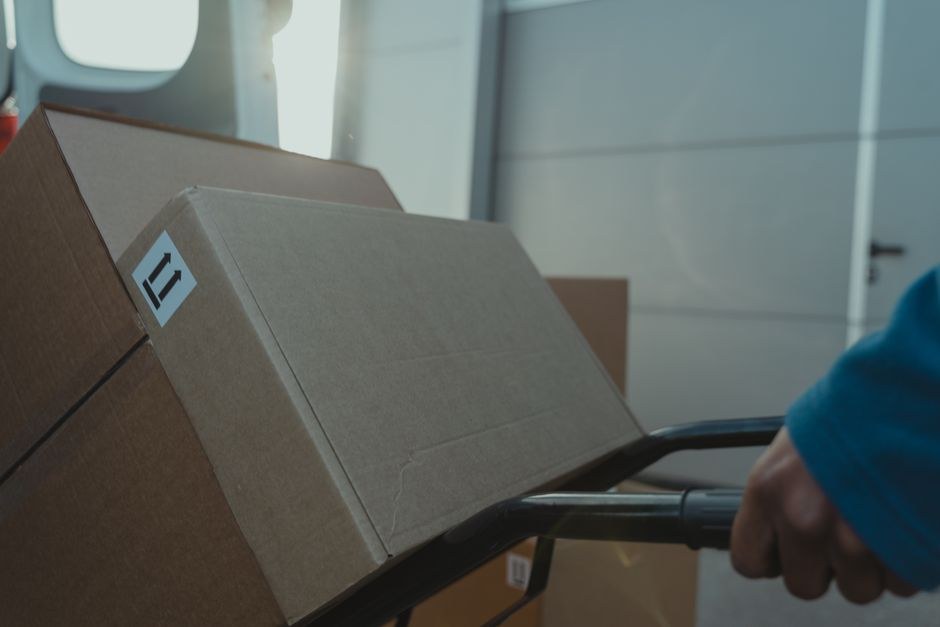
- Master carton marking. Standard ITF-14 barcode, weight, size and up-arrows, plus your PO number on the outside — not only on the packing list.
Note the balance you have to strike. Heavier grammage costs more per carton, adds base carton weight, and eats air-freight-equivalent volume. If your last order came back at 22% destination damage on a 12 g carton, going to 18 g is usually the cheaper fix than re-sorting at the 3PL. For hotel and spa orders, packing density is often preferable to extra layers.
Load planning: 70/65/55, the pattern that holds
A standard 40HQ is about 12.0 m × 2.35 m × 2.69 m internally — roughly 65 to 68 CBM usable in a carton load with the truck's 76 CBM if it's a trailer. On slipper loads, we plan for cartons standing upright, master case on its side is where boxes deform. There's no need to overengineer the maths: a good load plan works like this.
- Start with the heaviest, densest style you have — closed-toe memory foam, men's-size — against the floor and toward the door-end axle position.
- Stack six to eight cartons high. Flush above 4 unless you have boards; offset brick-stack keeps the wall rigid without extra weight.
- Leave a 5–8 cm air gap at the sides? No, only next to a shutter door you won't see until destination. Fill side voids with airbags or corner boards and strap them down.
- Put cotton and plush upper cartons up top. Every size of pressure on 6 mm soles shows up at unpacking.
- Leave a walking space? No, no spaces. Finish flush; only leave a small space within reach for the customs inspector at origin.
Bag the cartons as you load for high-value orders: PE sheet under the bottom layer and over the top layer, then add 1–2 kg of desiccant per 10 CBM if your route can hit humid conditions. That covers the "sweating container" season from May to September in the North Pacific.
Pre-shipment checks that stop the claim
Every damage claim I've seen was visible either at the final factory wall or in the load photo set. Ask your factory for the following, and confirm them at loading:
- A loading plan: carton count, column positions, board placement, and a line of the total CBM against your PO. If it says "approx", request exact.
- Carton-spec confirmation — wall grade, base board, burst strength — with the fluting direction marked.
- A small carton burst test or at least the mill certificate on burst.
- A moisture reading or relative-humidity check on what you're packing, especially cotton and hotel terry.
- A photo set: full truck, mid-load, wall-to-wall if the truck can close, container door with sealing tags.
- Arrival checklist: at the 3PL, open two random cartons and note insole flatness, plush pile, and any scuffed marking.
Get the load photo set in the final release email before the truck moves. If something is wrong and arrives before the boat is alongside, you can improve container loading slippers workflow for the next order rather than pay for a claim.
Start with one change on the next PO
You don't need to rebuild your packing lines in one season. Pick the failure with the highest damage rate on your last three shipments and fix only that. If plush piles were crushed, add top-of-stack shipper pads and a board under the top layer. If insoles looked wavy, order 18 g cartons with a PE layer on high-density grades, then compare damage against your next PO into the same grade.
Write the carton spec, the load plan, the desiccant quantity and the six-photo rule into your next PO and your supplier's packing list. That gives receivables people evidence and your buying team a repeatable baseline. If you want human eyes on container loading slippers and pre-set packing specs before you commit, a development brief helps more than another quote round.