Custom House Slippers: A Guide to Soles, Uppers, and Insoles
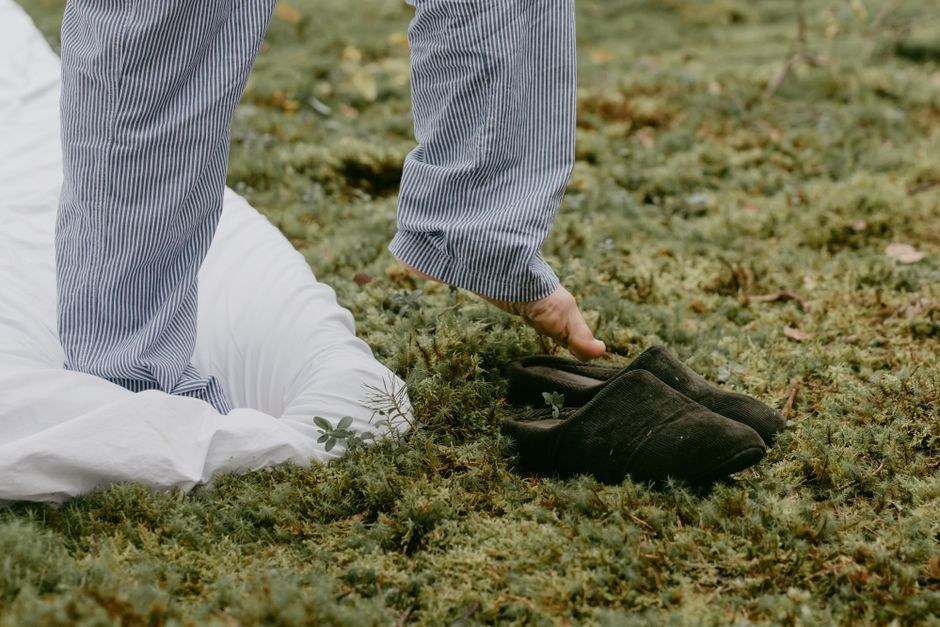
Custom house slippers live or die by three components: soles, uppers and insoles. This guide breaks down what each one costs you in comfort, price and durability.
Most sourcing problems on custom house slippers trace back to one mistake: the buyer specifies the colour and the pattern, and leaves the construction to the factory. Six weeks later the sample looks right in a photo and feels wrong on a foot. The fix is to treat a slipper as three separate decisions — sole, upper and insole — and to know what each one does to your landed cost.
Start with the Sole, Because It Sets the Floor Price
The sole is usually the second-largest cost after the upper, and it is the hardest component to change late, because tooling often depends on it. Ask your factory which of the following constructions they are actually quoting, not which they can source:
- EVA or TPR — lightweight, cheap, fine for indoor use. Good for hotel programmes and low-price retail. TPR grips better on tile and wears longer; EVA is softer and lighter. If you sell to a market where buyers equate light with flimsy, this is the wrong choice however well you position it.
- TPR with a fabric wrap — the same base, stitched or bonded with a textile edge. Adds a small amount per pair and moves the product visually up a tier. Often the cheapest way to make a mid-market slipper stop looking entry-level.
- Rubber or rubber-tipped — heavier, better on wet or uneven surfaces, better for outdoor use and for any slipper that will be worn on stairs. Watch the weight per pair: it affects freight, and on air shipments it can swing your margin.
- Anti-slip — since slippers are increasingly sold to older consumers for indoor support and not just comfort, anti-slip tooling is one of the more defensible reasons to raise your price and put the numbers where the retailer can see them.
One practical point: sole size grading drives how the upper is cut. If you plan three colourways and four sizes, confirm the grading scale the factory will use before the first pattern is approved.
The Upper Decides Cost, Care Instructions and Season
The upper is where most of your material cost sits, and where the care instructions you print on the hangtag come from. Rough split:
- Cotton and canvas — breathable, machine-washable on a good day, lower cost. Right for spring and for markets that shop for value.
- Plush and fleece — the winter seller. Higher loft reads as more premium on shelf, but it pills with wear and needs knotting or a locking stitch at seams if it will be pulled on by hand. Ask how the factory finishes the plush edges; this is where cheap programs unravel.
- Microsuede and knit — a mid-tier look with better shape retention and easier print compatibility. Knit can be produced in seamless uppers, which reduces labour cost and gets you a cleaner line.
- Quilted or padded — extra labour, correspondingly higher quote, but it photographs well and it is one of the few ways to justify a step-up price without changing material.
Whatever you choose, lock down shrinkage and colour fastness standards in writing before production. Plush and cotton both move, and a second-run colour mismatch costs you a whole season of reorders.
The Insole Is Where the Repeat Purchase Comes From
Buyers who shortchange the insole get the sale and lose the reorder. The three options worth knowing:
- Flat EVA or foam — the default. Adequate for hospitality and low-cost retail. It flattens within a season and it feels like the cheap version of whatever you are selling.
- Memory foam — a proven difference you can feel in the hand and put on the package. Cost impact is modest on large volumes. What you can promise about how it behaves once footprints set in is misleading — that is the honest limit of the material. To the extent that it keeps shape after a season of wear, that is the point worth qualifying.
- Removable or layered insole — the one to specify if you are targeting a foot-care or comfort audience. It allows aftermarket insoles and makes your product the base layer of a system rather than a disposable commodity.
How to Specify Construction Without Slowing the Sample Loop
Put the three components in a single line on the spec sheet — sole material, upper material, insole material — before you send the artwork. Then send them in a priority order: sole first, since tooling decisions usually depending on it, then upper, then insole. Ask your factory to return the sample with construction notes on the same sheet, so the first review meeting is a comparison rather than a memory test.
One more suggestion that costs nothing at sampling: ask for a size run in the intended construction, even a small one. Size grading is where custom house slippers most often end up wrong, and you want to know that before the bulk order, not on your own foot.
What to Do Next
Before you send another enquiry, write a three-line construction brief: sole construction and grade range, upper material and finish, insole material and layer count. Ask every supplier you are considering the same two questions — what construction are you quoting, and what will you change if I take the price down? — and compare the answers side by side. Hold one model back for bench testing in a realistic setting for three to four weeks before you commit to volume. And when you place the first order, add a small hedge of pairs in the construction you did not pick, so you can test a second material tier via sampling rather than through a full seasonal buy that ties up your cash.